
DIY: The Perfect Succulent Potting Soil Mix
So it’s that time of year, either you just got home with a big haul or maybe your succulents are starting to grow. Either way you are now in need of soil but you don’t know where to start. Well let’s start at the root of the issue (quite literally) and learn how to mix up some potting mix for our succulents because great soil is a great place to start. This guide will walk you through the basics of creating a perfectly balanced potting mix for any succulent.

The Key elements
Let’s start with the basics of what a succulent potting mix needs to be. Succulents come from an environment that doesn’t have a lot of nutrients or water. That’s why they are succulent and have evolved to store these things inside their leaves, stems, or even their roots in some cases. We need to recreate this environment when we make our potting mix. Below are the qualities that help make a great succulent mix and what we need to think about when we are making up our soil mix.
Succulent mix needs to be…
Free draining
Non-compacting
Not too nutrient rich
Wait not too nutrient rich? Yes, too much nutrients like nitrogen can cause your succulents to grow too fast and be brittle or unsightly. Some succulents will even get leaf and root burn from excess nutrients.
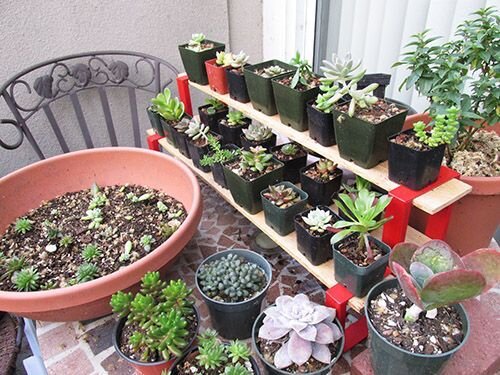
Shirley's Simple Shelving Mini Easy stand with rooted cuttings.
The Ingredients
Today we are going to use perlite, black soil and coarse sand to achieve the perfect mix. These supplies should be readily available at your local garden center or greenhouse. Here is what they look like and what they bring to the mix.
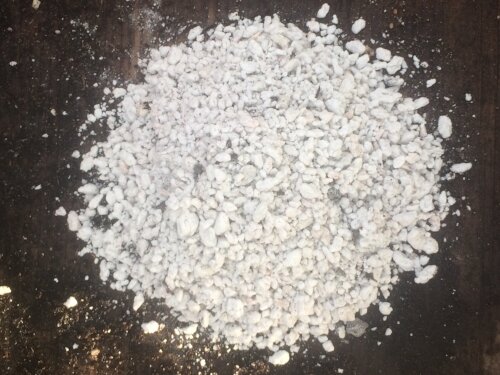
Perlite looks like this and is great for improving drainage and helps prevent the compaction of the soil, it is also a great “space filler” and helps make sure your succulent soil doesn’t hold too much water. A person could also use vermiculite if they have some on hand but I find perlite is more of a sort of neutral additive whereas vermiculite has a lot of minerals in it which may be excess for your succulents.
Course sand is what can be bought as course sand at most home improvement stores or garden centers. It has all sorts of sized particles and small rocks in it that, like the perlite, help prevent compaction and improve drainage in your succulent mix. It also helps mimic the kinds of sandy and rocky soils many succulents naturally grow in.

The last component of our mix today is black soil, also known as top soil. This brings the organic component to the soil mix and the nutrients needed for the plant to grow well. It is also slightly acidic which makes the perfect environment for the roots to grow and take up nutrients. If you are worried about weeds growing in your succulent mix make sure you buy sterilized or weed free top soil.
Putting It All Together
Now that you understand all the components of your mix here is how to put it all together. It is pretty simple but I have a few tips for you to make sure it goes smoothly.
Step 1: Measure it out
The first step is to measure out your ingredients in the right amounts. The perfect ratio for this basic succulent mix is 1 part perlite, 2 parts course sand, and 2 parts black soil. You can scale this up and down however you want but 1.5 cups, 3 cups, and 3 cups is what I used here for example. You may want to use containers or bowls if you don’t have a mess table you can use like this.
Step 2: Start mixing
Start with the black soil and moisten it a little to keep the dust down from the other components. It will also make mixing easier. I used a shallow tray to help hold everything in place while I’m mixing.

Next, add in the sand and mix it up in small parts to ensure even mixing and don’t worry about forcing them together, they will come together naturally. Notice how this makes the black soil come apart and become more fluffy, this is great. You may have to add a little more water if the sand still seems dry.
Last but not least, add in your perlite. It should stick to the moisture in the mix and fold in nicely. Mix until it is distributed evenly like above.
Step 3: Check the Moisture
This is the squeeze test. The ideal moisture level for your mix to plant in is just enough that it stays in a ball when you squeeze (see above) it but not so much that water comes out of it when you do this. This ensures that you are not planting your succulent into already compacted and waterlogged soil and that it will not sink in too much when you give it its first watering.
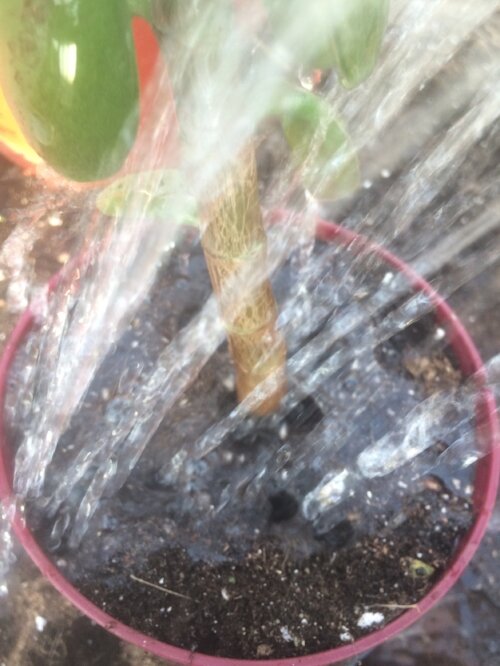
Last Step: Pot it up and Water It In!
Pot up your succulent and firm the soil gently. Make sure any soil you put under your succulent in the new pot is packed a little more so that it doesn’t sink into the pot. It is important to water in your newly potted succulent as this gets rid of any air around its roots which could make it wilt or damage them. To give the plants a boost make Authentic Haven Brand manure tea.
There you go, you have now made your perfect succulent potting mix and are ready to tackle repotting season or that new succulent bowl project you found online. Go forth and plant!

Bonus Tips and Tricks
This mix is perfect because it doesn’t have too much nutrients in it but that means you will have to fertilize sometimes. A weak application of fertilizer (5-5-5) every couple weeks during the growing season should do just fine.
Be sure that there isn’t too much space above the surface of the soil and the top edge of the pot when it potted up. About 1/2” is ideal as this allows you room to water but doesn’t lead to air circulation issues which could cause rot issues.
Top dress to your heart’s content. You can add more sand or rocks or even glass pebbles to the top of your succulents pot to dress it up. Just be sure to avoid anything that holds water as your succulent likes to dry out well between waterings.
If you need succulents we would like to recommend The Succulent Source which also provides a free e-book on plant care:


Thank you for reading. Please be sure to browse the shelving frames I have designed and support a Made in the USA Product.
~ Shirley Designer & Founder of Shirley's Simple Shelving